
This function is only available if the Austria/AT module is activated in your client.
With konfipay, you can create structured tax office payments for Austria in accordance with the standard of Payment Services Austria GmbH.
To do this, first open the payment entry by clicking on Payments > Payment Entry in the navigation bar on the left. Then, at the top of the page, select the Credit transfer tab and then Tax Office Payment as the subordinate tab. The numbers on the tabs indicate how many payments of that type have already been saved.

Enter tax office payment
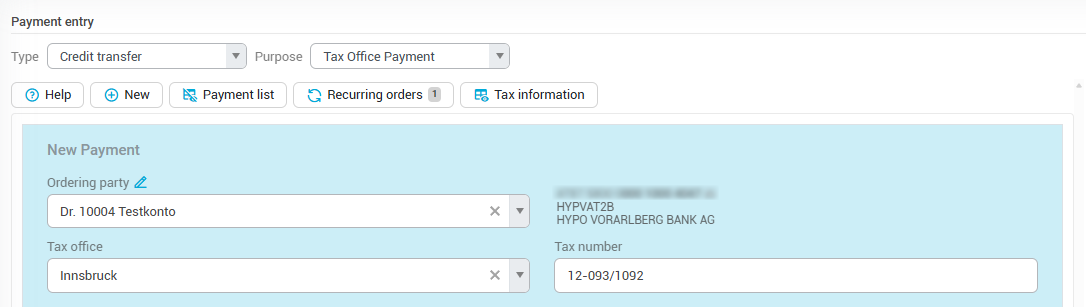
In the upper section, first specify the debtor account, i.e., the account from which the payment is to be made.
Then select the tax office to which the payment is to be made from the drop-down list and enter your tax number in the field provided on the right. Please note that konfipay automatically specifies the correct format for the tax number.
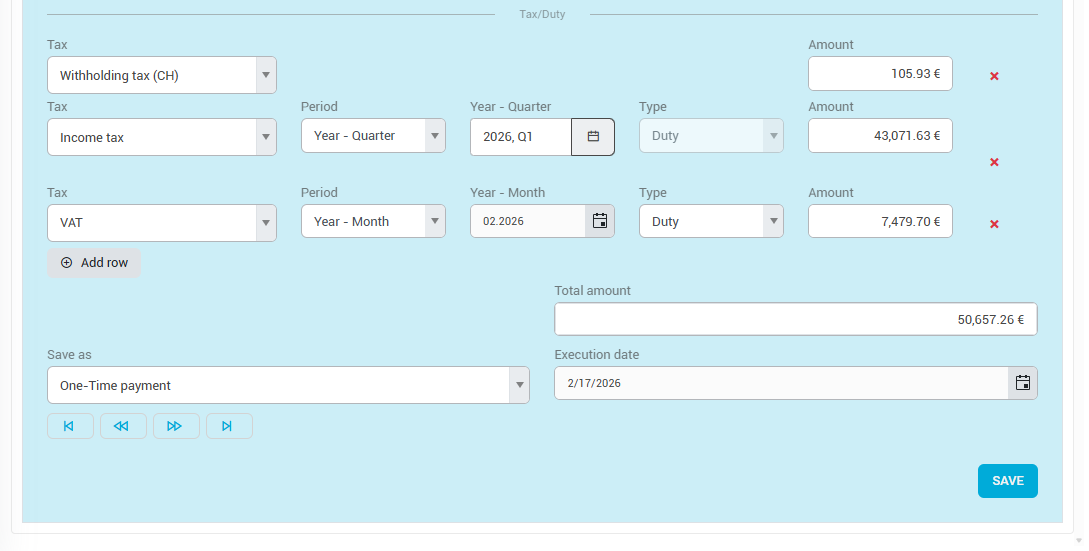
In the lower section, enter the types of tax you wish to pay. Select the appropriate tax from the drop-down list and enter the amount in the corresponding field. If you wish to pay multiple types of tax in one payment, click on Add row to select as many types of tax as you wish.
Depending on the tax, you can specify the period for which the tax is being paid. The options here correspond to the aforementioned PSA standard.
Create payment from QR code
You can create a bank transfer or direct debit from a QR code and generate a payment file directly to save time and avoid typing errors during data entry. To do this, you can either use your device’s camera or import an image from your computer. konfipay supports both the EPC QR code (GiroCode) and the Swiss QR code.
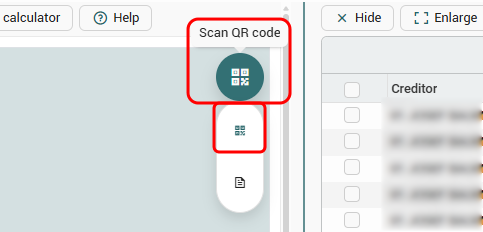
To do this, click on the round icon with the QR code in the upper right corner of the transfer/direct debit form, and then click on the QR code icon again.
Launch your camera by clicking Start camera or select the Upload file tab if you want to upload an image file or PDF of the invoice. Then click Select files to choose the appropriate PDF file from your computer, or drag and drop the file into the window.
Once the scan is complete, a screen will open for you to edit the payment partner with whom the transaction is to be carried out. After you save the information displayed, you will see the transfer form and can then save the payment.
Attach PDF receipt to payment
For each transfer or direct debit, you can attach a related receipt, invoice, or similar documents in PDF format. This document is then directly linked to the transfer or direct debit in konfipay, so you can easily find and view it later. Only one document can be linked per payment.
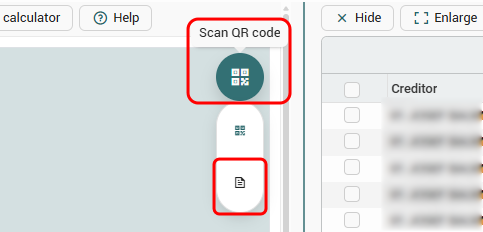
To do this, click on the round icon with the QR code in the upper right corner of the transfer/direct debit form, and then click on the document icon.
In the window that opens, click Add in the toolbar to upload a new document. Then click Select files to choose the appropriate PDF file from your computer, or drag and drop the file into the window. You can also view and manage existing documents here.
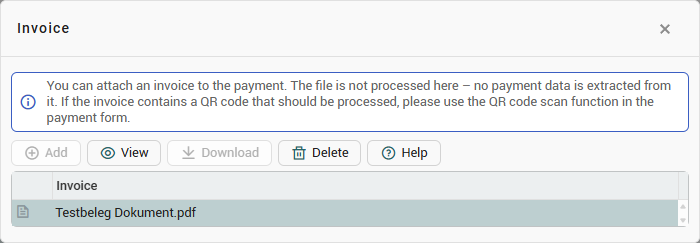
The attached receipts are not processed here; no data is extracted from them, and no payments are created automatically.
Manage tax information
After entering a tax office payment for the first time, the stored tax information, i.e., the tax office and tax number, are automatically saved. You can simply select this data from the drop-down list of tax offices the next time you need it, so you don't have to enter the tax number manually each time.
To manage saved tax information, click on Tax information in the toolbar. You will then see all the tax information stored for your client.
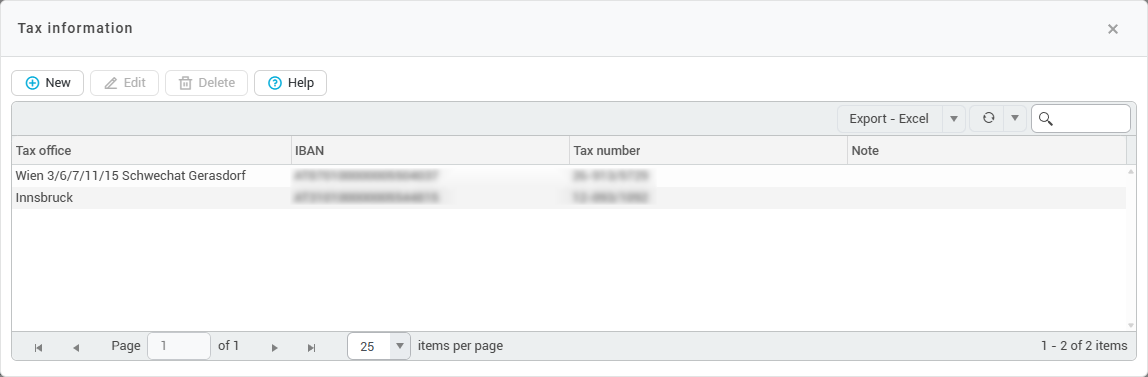
Here, you can use the toolbar to enter new tax information and edit or delete existing data. You can also add a free text note when editing. This is for information purposes only and has no effect on the tax office payment created.