
You can invite konfipay users from other clients to your own client as guest users. Depending on which user group you assign to the guest user, the guest user can then work in your client or view data.
Invite guest users
To invite a new guest user to your client, click on Invite at the top of the toolbar and enter the user's e-mail address. Select which user group the new guest user should belong to. We recommend the "Guest" user group, which only gives the guest user limited permissions - but you can adjust this as required.
The prerequisite for inviting a guest user is that this user is already using konfipay via another client. If this is not the case, you cannot invite the user as a guest. Create the user as a new user instead.
The invited guest user receives an e-mail invitation and must accept it by clicking on the corresponding link in the e-mail invitation.
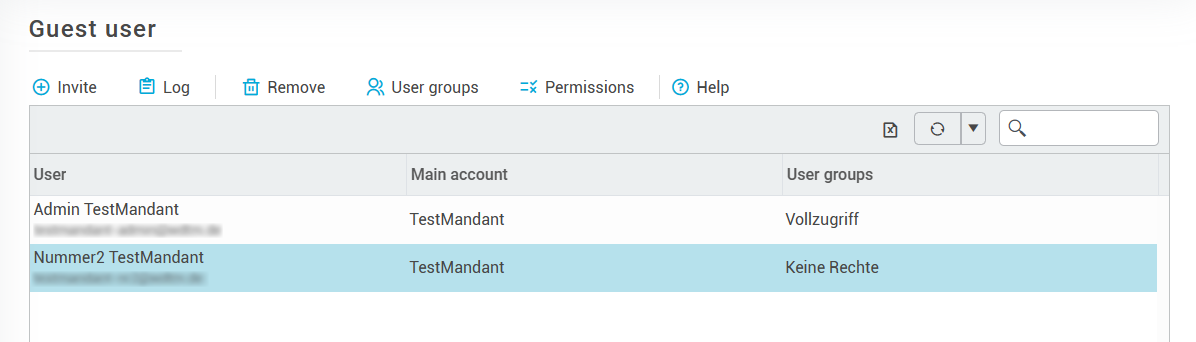
Display and adjust guest user permissions
Display the permissions of a guest user by selecting the corresponding guest in the list and then clicking on Permissions. You will then see the user group to which the guest belongs on the left and a permission matrix with the guest's corresponding permissions on the right.
If you have the appropriate permissions, you can change the guest's user group by selecting the guest from the list and then clicking on User groups.
Remove guest user
You can completely remove a guest user from your client by selecting the guest user from the list and clicking on Remove.
Guest user protocol
The guest user log documents all entries and exits of guest users in your client. You can also see who has invited which guest. To call up the guest user log, click on Log in the toolbar at the top.