To create a new user for your konfipay client, first go to the user administration page. To do this, click on the cogwheel symbol at the top right to access the administration area and then click on User management and then on Users.
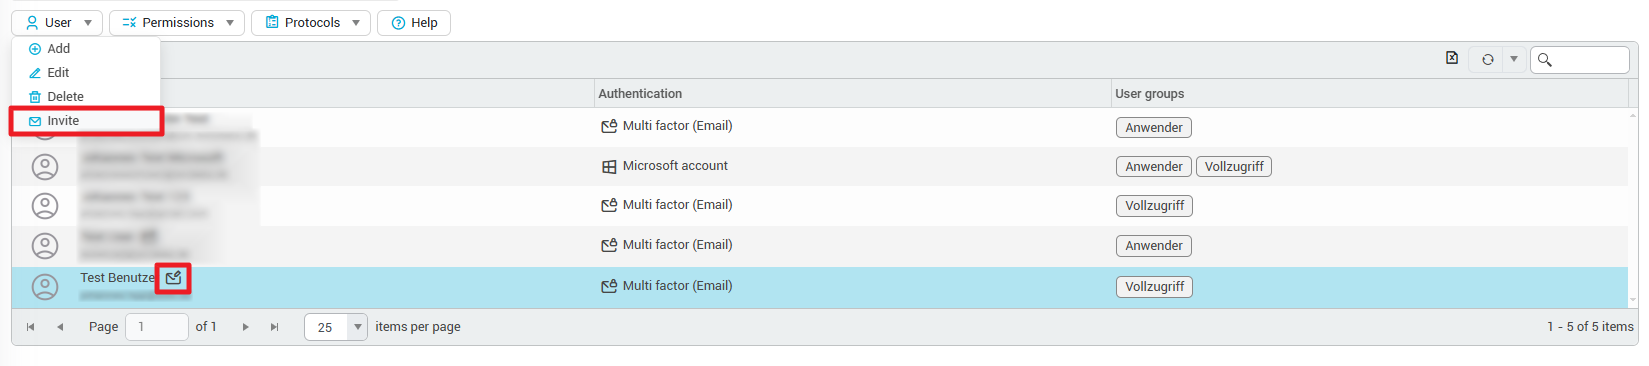
To start creating a new user, click on Add at the top of the toolbar.
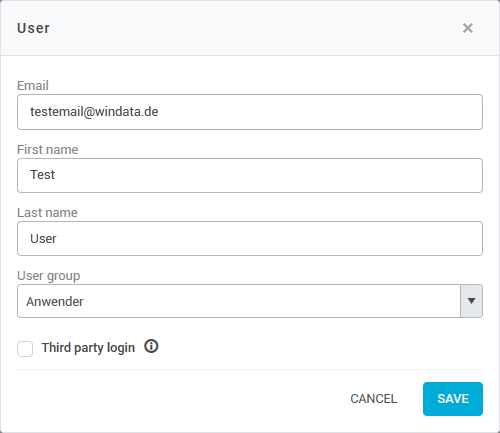
Maintain user data
Enter the new user's data in full. It is mandatory to enter the first and last name as well as a working e-mail address. Of course, the user must also be able to access this e-mail address because it is required to activate the user account later on.
Select user group
Select from the drop-down list which user group (i.e. which type of permissions) the new user should be part of. After creating the user, you can also add the user to other user groups, if required.
Authentication options
Two-factor authentication
New user accounts are created by default with two-factor authentication via email enabled. The user can later change their authentication method independently and switch to two-factor authentication via app if desired.
Microsoft login (SSO)
Login via Microsoft (Single Sign-On) is not configured per user, but is controlled centrally at the client level. There is therefore no user-specific setting for Microsoft SSO when creating a user.
All users of your client can log in via Microsoft if their email address matches a registered Azure tenant ID and Microsoft SSO is enabled in the client settings. For information on how to set up Microsoft SSO, refer to the article Client → Microsoft SSO.
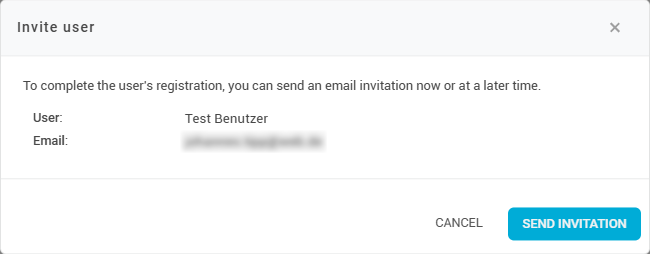
Send invitation e-mail
Once user creation is complete, konfipay automatically suggests sending an invitation email to the user. This is necessary so that the new user receives the activation link for their account per e-mail and can start working in konfipay.
If you do not wish to send the invitation e-mail at this time, you can simply click on Cancel and send the invitation later by selecting the corresponding user in the user list and clicking User in the toolbar and then on Invite. A small symbol next to the user's name in the list indicates whether the invitation is still pending: